
Makercise Log – 20170326
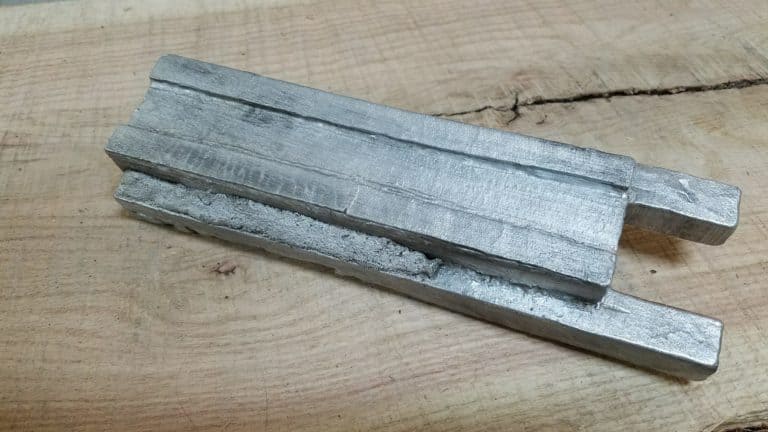
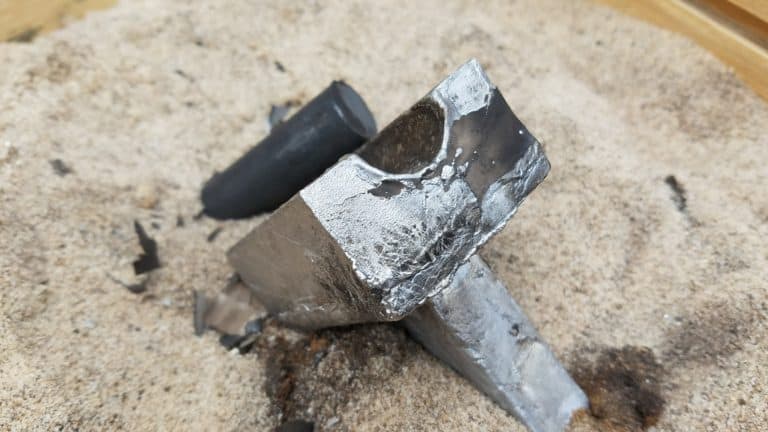
Last week’s update: I ordered hardware for the project including fasteners, bushings, bushing stock, ANSI 35 roller chain, bull wheel sprocket, pinion sprocket, set screws, and shaft collars. I probably missed some hardware, but this should get me through most of the shaper build. I cleaned up the column sides and the column front. I scraped the column front and mounted the vertical ways to the column front. I assembled the column front to the column sides and also fabricated the rear spreaders. I made the ram and ram cap patterns. I rough cut footage that is available to patrons as extended cuts.
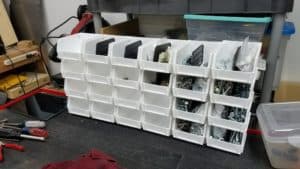
 I ordered almost $200 worth of hardware, much of that will be spare and not actually used in the shaper build. McMaster-Carr sells in 100 count bags even if I only need 2 bolts for the project. I see this as an investment in my shop’s utility. Having fasteners on hand will be something that should speed projects. I also invested in some stackable containers that currently reside on top of my tool chest. After getting that out of the way, I started scraping the column front for installation of the vertical ways.
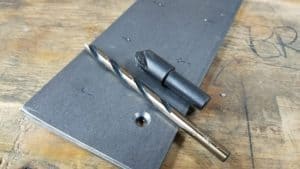
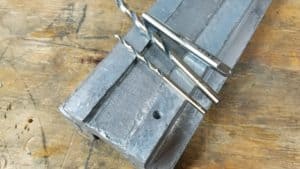
Before I started scraping the column front, I use a portable bandsaw and 12″ Disk Sander to clean up my castings before machining or scraping. Although I got mine from Harbor Freight, mine are similar to the Dewalt the Grizzly versions of these type tools.Then I put a sheet of sand paper on the surface plate to get it very close before proceeding to scraping. I spent about 1.75 hours cleaning up the castings before proceeding with scraping. I spent about 2.5 hours scraping in the surface to very close to flat. I cut a piece of 75mm x 6mm 1018 cold rolled steel to the length of the column front. Then I match drilled one hole to 5mm. I separated the steel from the casting and used a M6x1mm (that is a 6mm diameter with 1mm thread pitch) tap to cut threads in the aluminum casting. I enlarged the hole in the steel to 6mm to allow the fastener to freely pass through the part. I countersunk the hole with a 90degree 3-flute bit. This was not the right tool for the job in my small drill press with a relatively high slowest-speed. The chatter was redonk. The 6-flute 72 degree countersink (black bit pictured below–my McMaster Carr order hadn’t arrived yet with my new 3-flute) has much less chatter. A single flute bit is probably the right way to go. I fastened the vertical ways to the column front with a single machine screw, M6x1mm. I clamped the other end and drilled, tapped, and countersunk in a similar manner. Once I had two ends secured with fasteners, I drilled, tapped, and countersunk the remaining six holes in a batch.
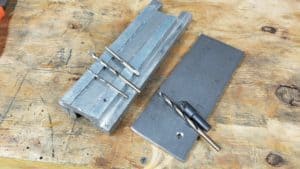
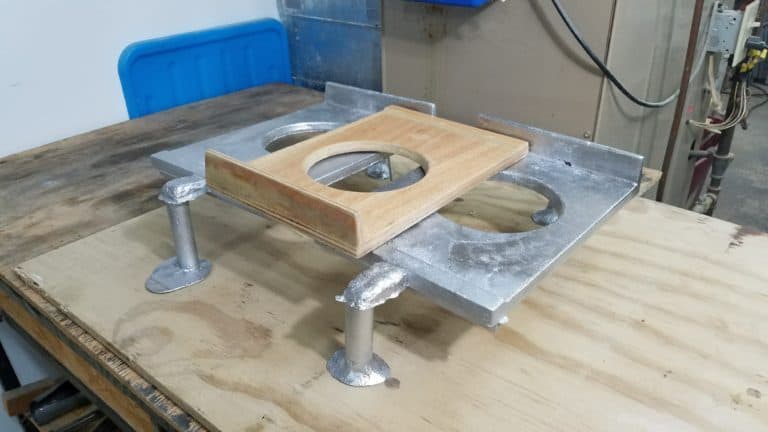
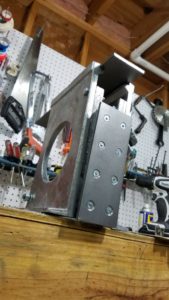
I drilled 3mm pilot holes in the front of the column side casting for the column front mounting bolts and a 10mm hole in the back rear of the column side castings. I made a rear spreader with an M10x1.5mm threaded rod and some M10 nuts. Then I clamped up the column front and column sides. I match drilled the top holes for mounting the column side to the column front to 5mm. I used a 6mm drill to enlarge the holes in the sides. I used an M6x1mm tap with the holes in the sides as a guide to tap the holes in the column front. Then I installed two M6 bolts. This allows the front to swing so it can be adjusted perpendicular to the ram slide. After all this work, I took the assembly to my table saw and noticed a fairly bad misalignment. Basically, I did not get either the top or the bottom of the column planar, the top ledges being the preferred feature to get coplanar. I decided to enlarge one of the column side holes with a small round file enough to persuade the sides into alignment. I’ll have to be careful to clamp the front well when installing the remaining fasteners in the column front. I also took the opportunity while at the table saw to enlarge the channel atop the column where the ram slide lives. As cast the column front width would be too tight for the ram slide and gib. I shaved off a few millimeters to give room for the 6mm x 3mm CRS gib. Finally, I cut a length of 6mm x 25mm CRS for the top rear spreader. This completed the initial assembly of the shaper column.
This week I plan to release the column assembly video, cast the ram, and start cleanup of the ram. A less ambitious plan considering I will be attending the Atlanta Woodworking Show this weekend. If you can make it, I’d love to see you at the show.
Cheers,
Cressel Anderson